I’m super excited to have SPAX as a sponsor on this storage bench project. They have been my go-to fastener since discovering them about three years ago. I’ve told you all about SPAX screws before and if you don’t remember… they drill and countersink themselves as you drive them without splitting the wood so there is no need to drill any pilot holes.
Back to the mudroom…lets start from the beginning.
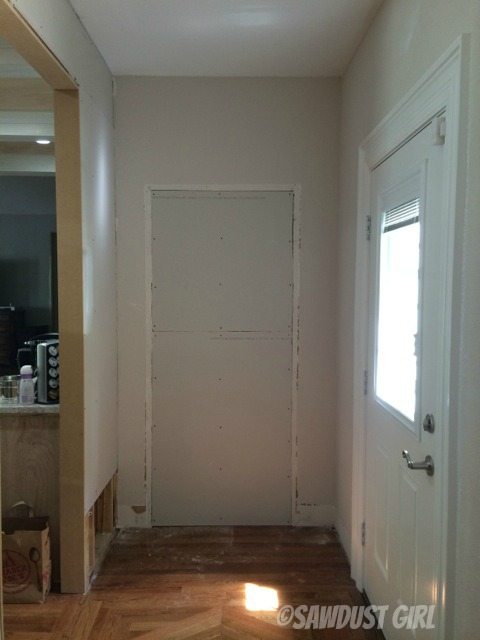
The mudroom was created from the nook that formed when we closed off the now dining room, hence the cut out that looks like a door to Narnia.
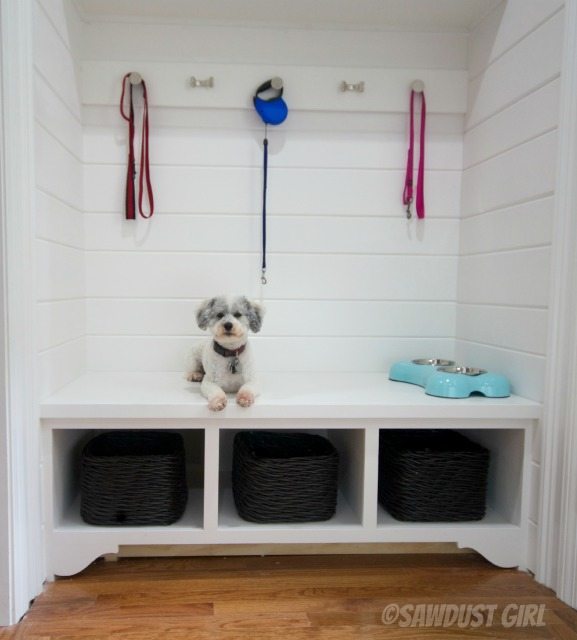
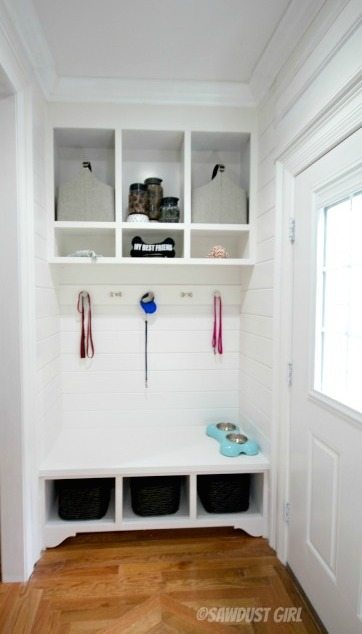
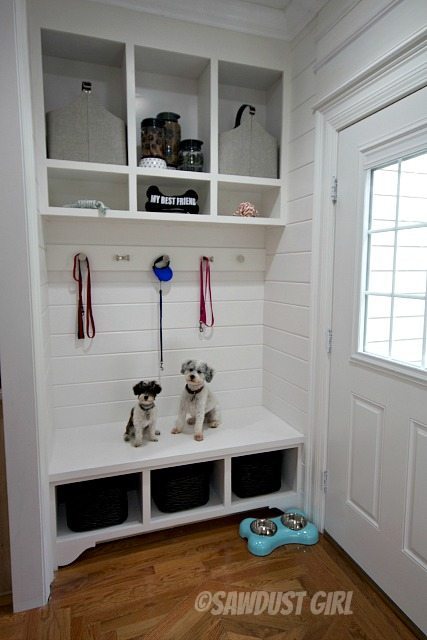
It’s actually in the perfect spot for the side entrance of our house, perfect for bringing in groceries, taking out the trash and when we are walking the dogs and do not want to track mud through the front door. And speaking of mud, we decided we wanted a bench where we could put on and take off shoes. It was tough deciding on a design because I had about 5 different ideas that all would have been cool.
Bench was the winner.
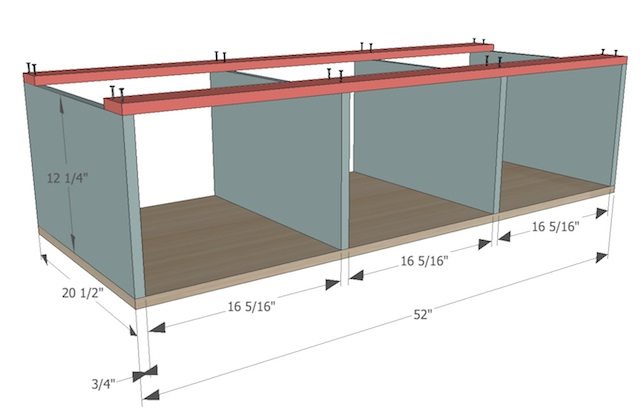
Materials used:
- 3/4″ and 1/2″ birch plywood
- 1 x2 maple hardwood for faceframes.
- SPAX Fasteners: 1 3/4″ hardwood/MDF screws, 1 1/4″ cabinet screws, 2 1/2″ cabinet screws
- Wood glue
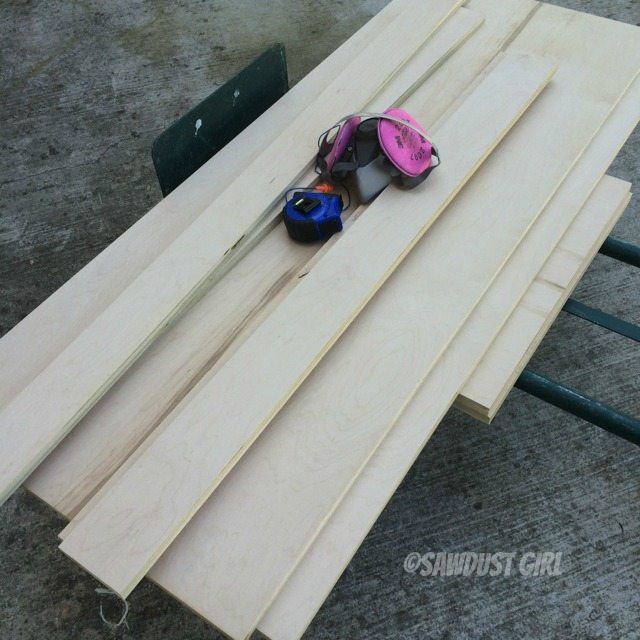
- Safety gear! 3M respirator, earplugs and a tape measure.
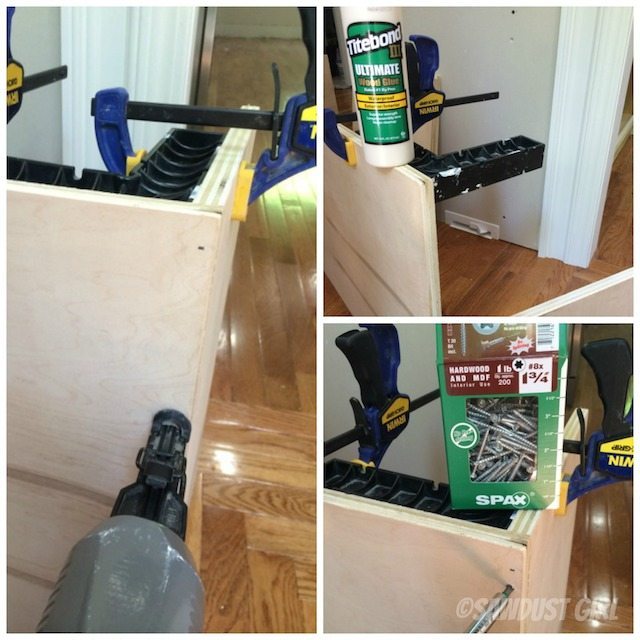
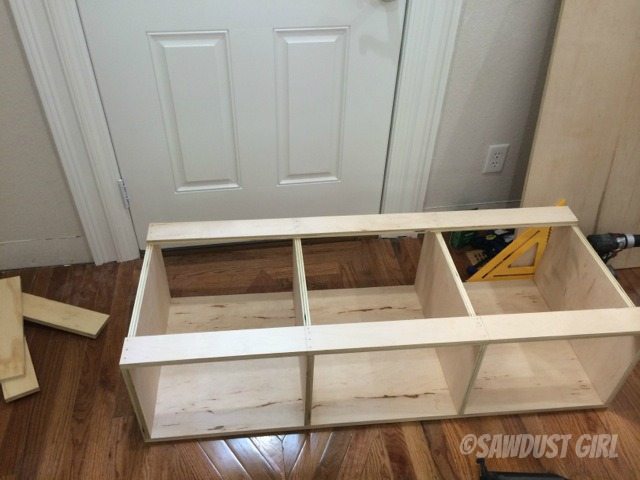
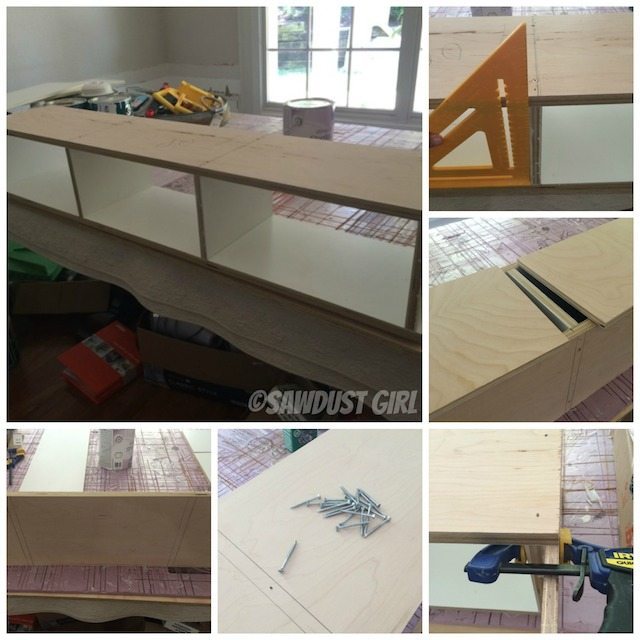
I used Titebond wood glue, clamps and assembly square then nailed the boards together. Then I drive in my 1 3/4″ SPAX MDF/hardwood screws. When working ON the floor, you can’t get a second assembly square and clamps on the other side of the joint to keep the pieces lined up. So, it’s easier to hold things in place with one hand and shoot in a couple nails with the other and then drive in the screws.
I’ll be adding a top once the bench is in place so I can make it fill the space EXACTLY so I’m only putting two cleats on the top for now.
I constructed a base out of 3/4″ plywood (because I had some scrap plywood and no 2x4s), shimmed the heck out of it to make it level every which way. Then I secured it to the wall with 2 1/2″ SPAX Cabinet Screws.
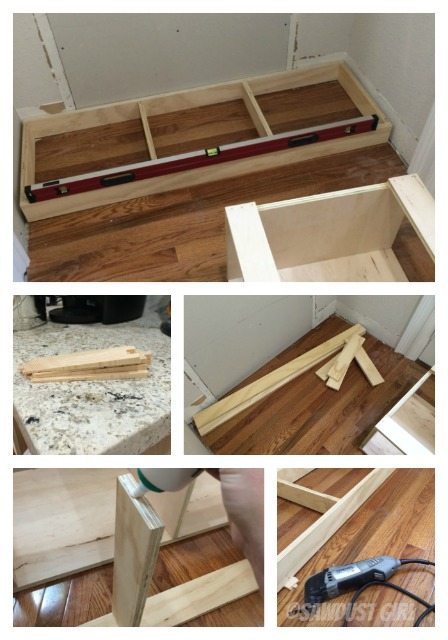
I added some 2 1/2″ cleats to the back of my bench. I didn’t even drill pocket holes — I just drove my SPAX in at an angle. BOOM!
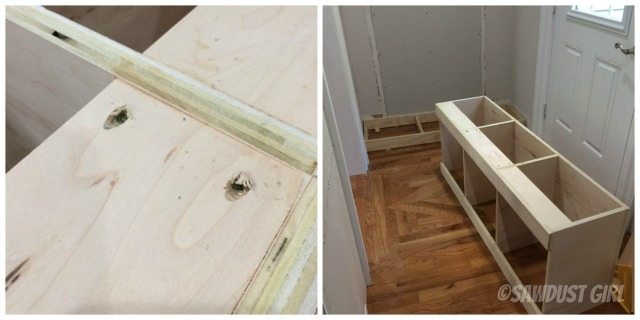
Set my bench on top of my base and secured it to the wall with more 2 1/2″ cabinet screws.
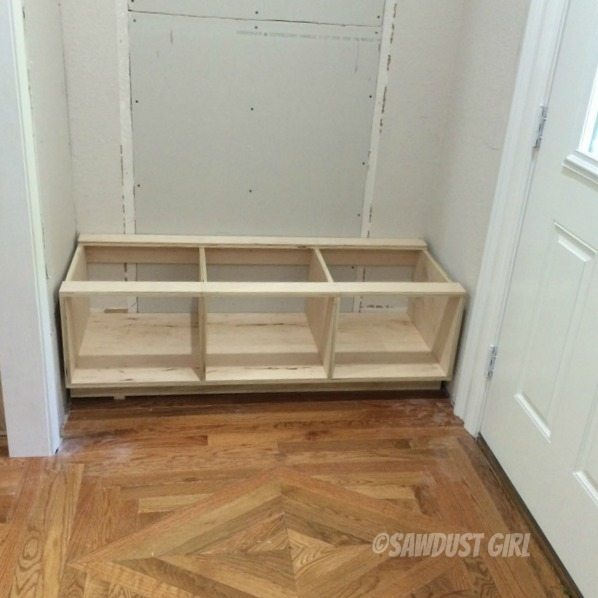
I accidentally cut my top too short. OOOOPS — it happens! So I secured it to the cleats anyway. Might as well have a super duper sturdy top.
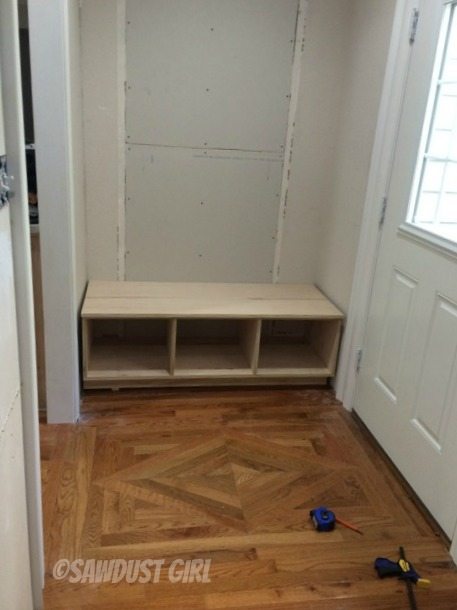
I used up all my plywood and didn’t want to go buy more so I cut some MDF and used that for the top. I scribed it to the wall so it would fit perfectly – no gaps. Then I glued it to the plywood. I weighed it down with as many heavy items I could find while it dried.
I cut, glued and nailed my face frame in place.
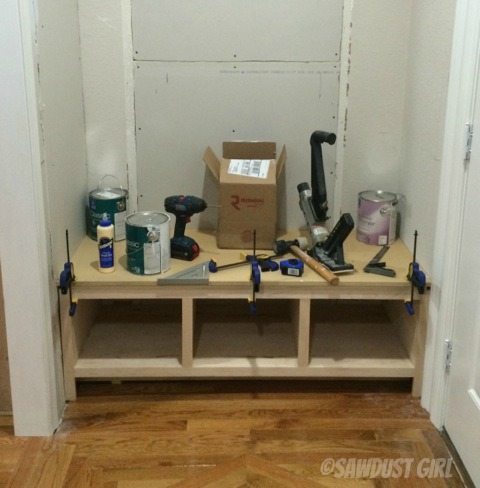
I wanted a decorative toe kick like I did in my kitchen so I cut the pieces and glued them into place.
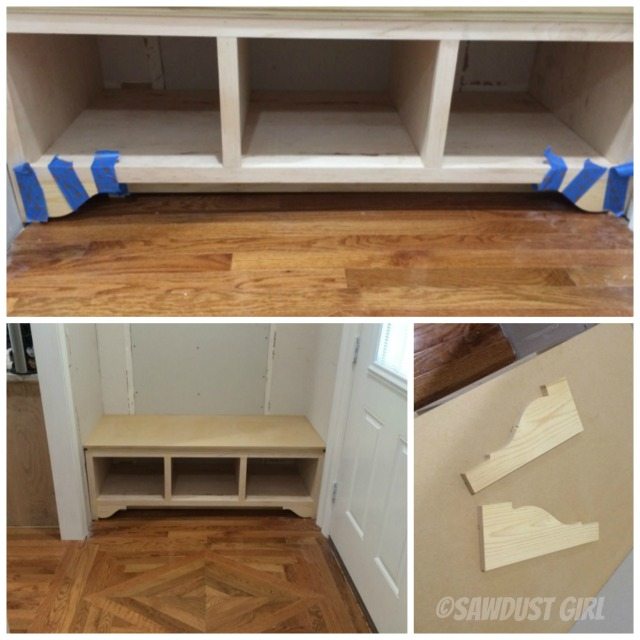
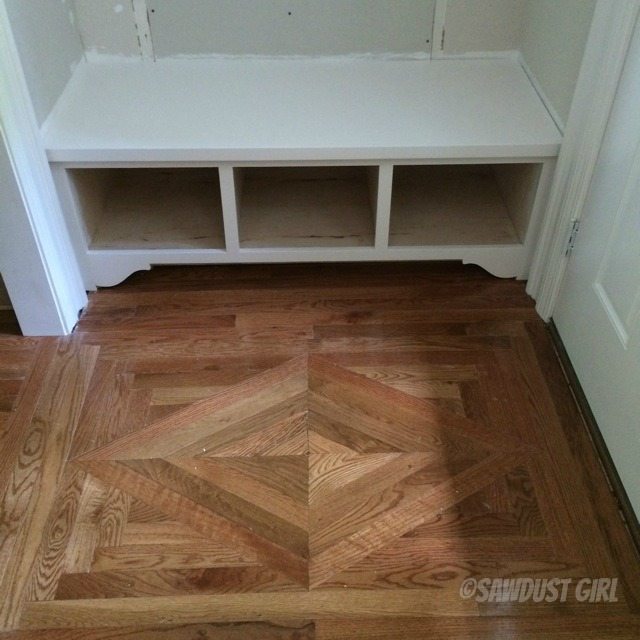
I sanded, filled, primed and painted and look what we have — a bench!
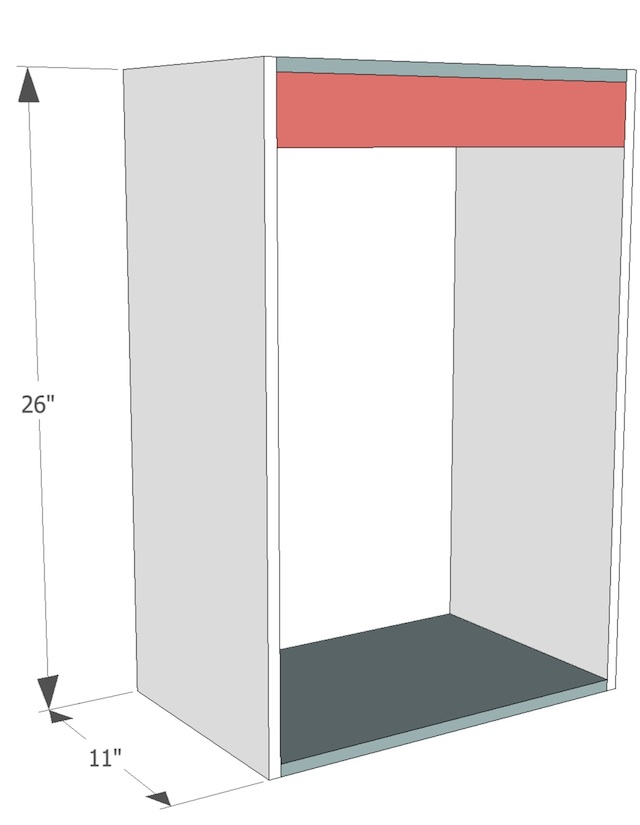
The upper cabinets I made out of 1/2″ plywood so they would be light. They are super basic. Butt joints, secured with wood glue and 1 3/4″ SPAX screws.
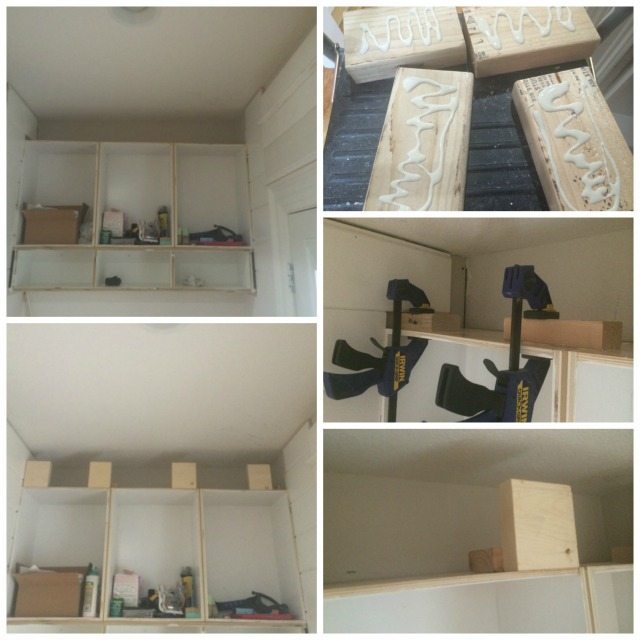
I added 1/4″ blocks in between them and then secured them to each other using 1 1/4″ cabinet screws.
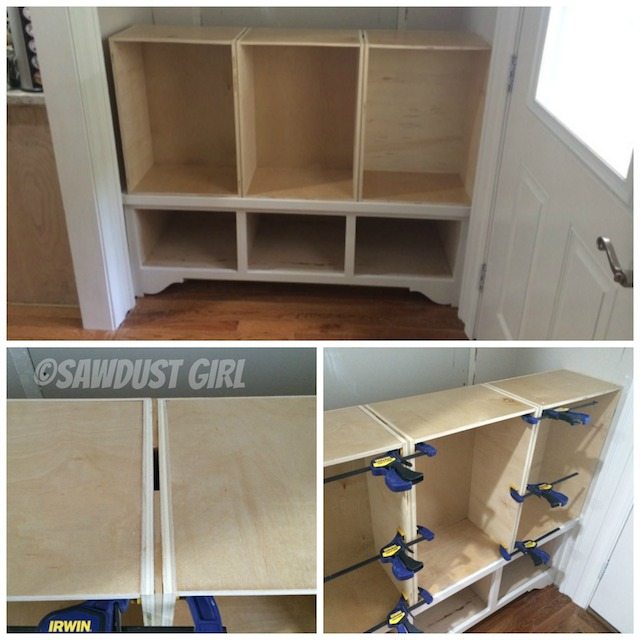
You can hang upper cabinet either with a french cleat or secure cleats in the back like I did with the bench and use 2 1/2″-3″ cabinet screws into the studs. I used a French cleat.
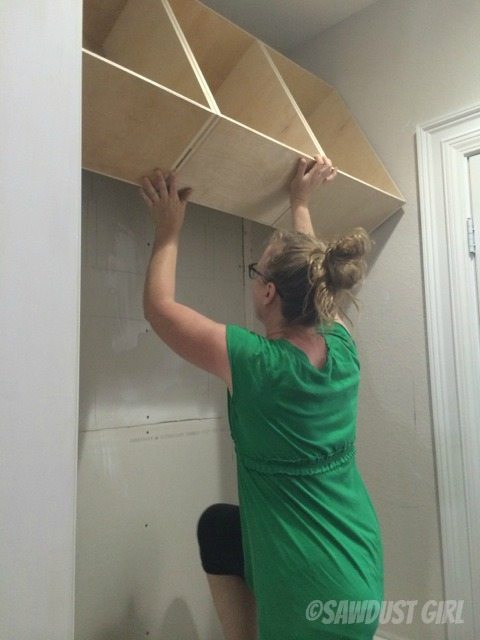
TaDa!
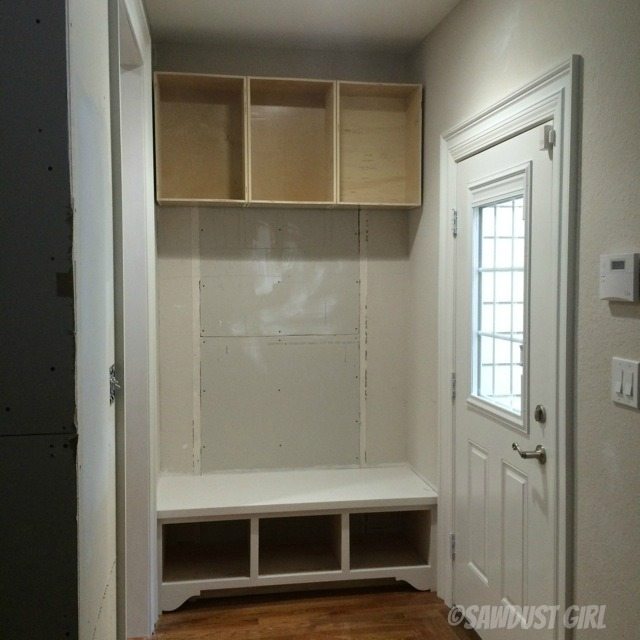
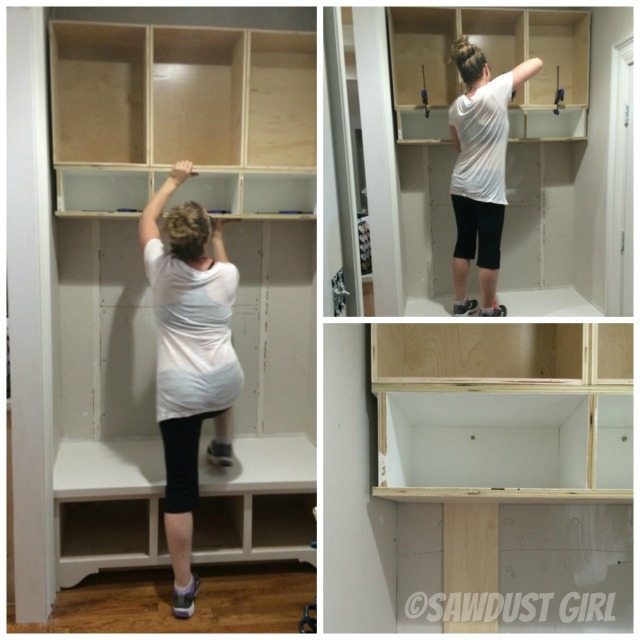
I wanted to add small cubbies at the bottom of the upper cabinet. I painted everything before I assembled because it would have been a royal pain otherwise.
I used a solid 1/2″ back for this piece.
I clamped the cubby cabinet to the uppers and then used my 2 1/2″ SPAX cabinet screws to secure it to the studs.
Next I addressed the wall. I had to cover the door patch because I did NOT want to do anymore drywall patching/skim coating.
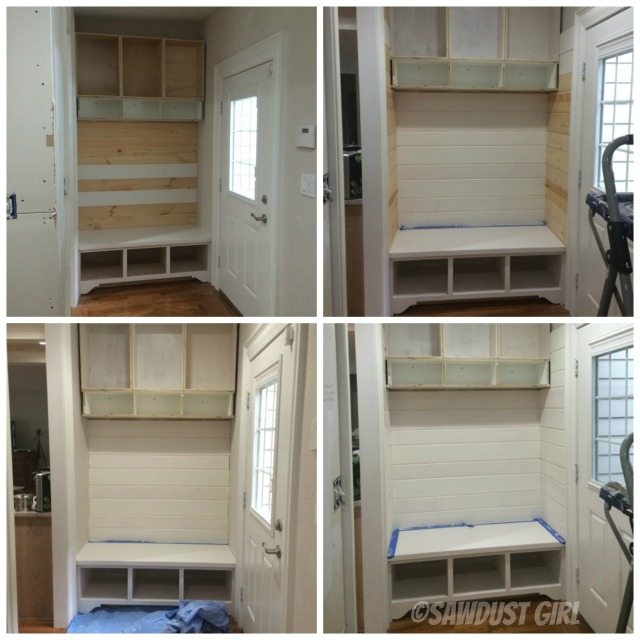
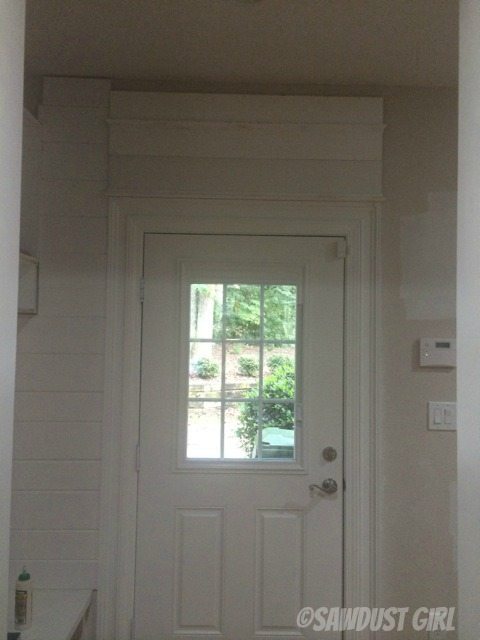
I had to create a decorative cross header that protruded beyond the planks and went all the way up to the ceiling so I could end the planks somewhere and not have to decide what I’m going to do on the other side of the doors yet. I might have to extend the wall down the road. Always something…
So I added that and then finished planking.
I want my face frame to go all the way to the ceiling to back the crown moulding so I added some blocks to support that.
Then added my face frame. I cut, glued and nailed everything in place, piece by piece.
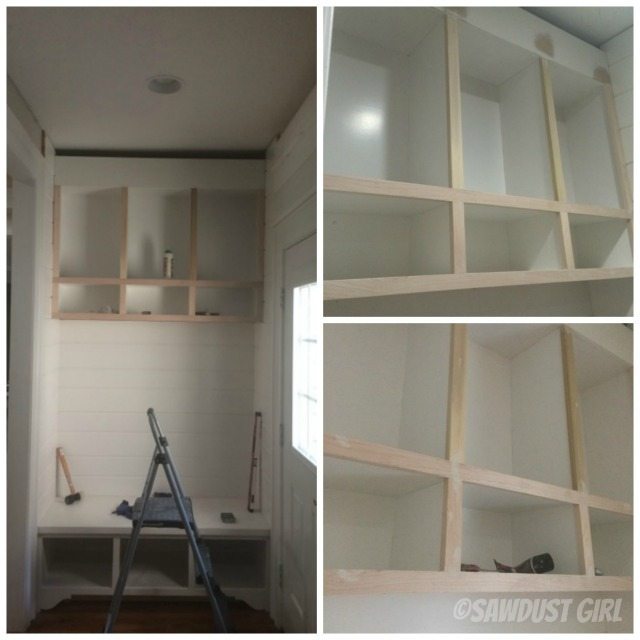
At this point I painted everything. I’ll add the crown already painted so I only have to go back and touch up the nail holes. Crown and hooks are all that’s left for now.
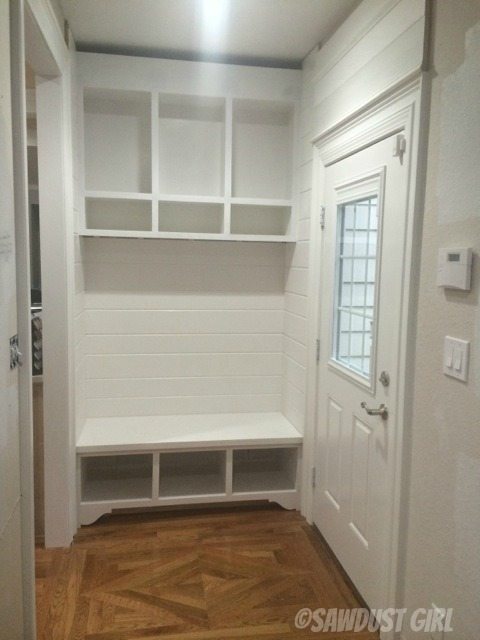
Some day I’ll come back and add drawers and doors but I want them to match the style of the kitchen cabinets which has not yet been decided so it’s another “mostly finished project”. Mostly finished or not, I LOVE it!!!
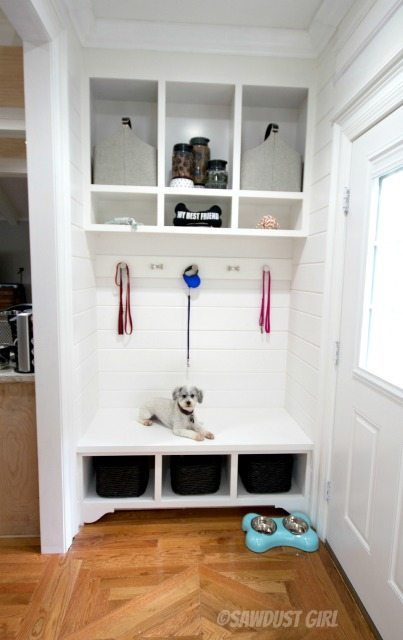

Awesome ! I love this project !
ReplyDeleteThanks Carol, we do too! Sawdust Girl rocks!
ReplyDelete